Please Wait transaction is in process, don't refresh page and do not press back button.
File your ITR Now and Claim Early Refund

When you own a bike, accidents and unforeseen events can happen, making it crucial to have a reliable bike insurance policy in place. However, navigating the process of claiming bike insurance can feel overwhelming when such incidents arise. That’s why we've put together this comprehensive guide to help you understand the entire claim process in a simple, step-by-step way.
In this guide, we will walk you through how to claim two-wheeler insurance, outline the documents you'll need, and provide some helpful tips to ensure a smooth and efficient claim settlement. Let's get started!
Why is Bike Insurance Important?
Before we jump into the claim process, it's essential to understand the importance of bike insurance. It provides financial protection in the event of accidents, theft, damage, or third-party liabilities. Whether you're involved in a minor collision or a major accident, having bike insurance ensures you aren't burdened with hefty out-of-pocket expenses.
Step-by-Step Guide to Claim Bike Insurance
Follow these steps when you need to claim bike insurance after an incident:
Step 1: Report the Incident to Your Insurer
The first thing you need to do after an accident, theft, or damage is to report the incident to your insurer. Most insurance companies offer 24/7 customer support via helplines or online claim portals, making it easy for you to notify them anytime.
Quickly informing your insurer is crucial for speeding up the claim process and minimizing any unnecessary delays.
Step 2: File a First Information Report (FIR) – If Required
In certain cases, such as theft or accidents involving third-party damage, filing an FIR is mandatory. This police report acts as official documentation of the incident, which is necessary for your insurance claim to proceed.
If the situation involves theft, third-party damage, or injury, head to the nearest police station and file the FIR. Be sure to keep a copy of the FIR for your records, as this will be required by your insurer.
Step 3: Document the Incident and Collect Evidence
Proper documentation plays a vital role in the success of your claim. The more evidence you can gather, the smoother the process will go. Make sure to take clear photographs of the accident scene and the damage to your bike. Also, gather witness statements and any relevant details like road conditions or the involvement of other parties. If injuries are part of the claim, keep medical reports, prescriptions, and hospital bills as supporting evidence.
Having complete and detailed evidence will help strengthen your case and enable your insurer to process the claim quickly.
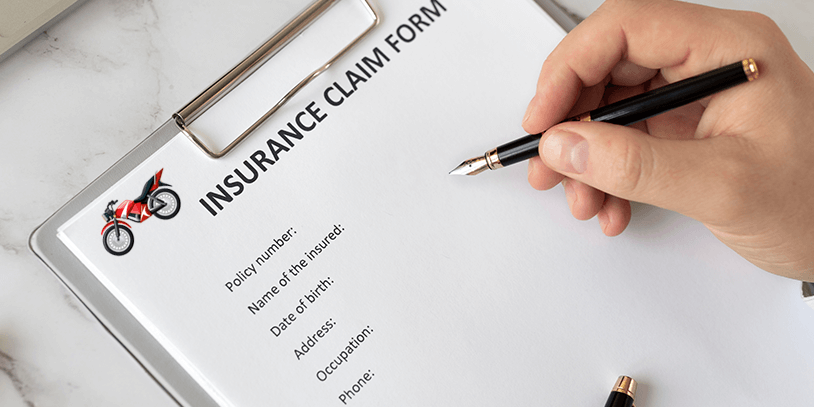
Step 4: Fill Out the Claim Form
After notifying your insurer, you'll need to complete the claim form. This form will ask for specific details about the incident, such as the date, location, and cause of the event, as well as an estimate of the damage to your bike.
Ensure that all sections of the form are filled out accurately and completely. Attach all required documents, such as the FIR, photographs, and medical records. Review the form carefully before submitting it to avoid delays in the process.
Step 5: Surveyor’s Inspection
Once your claim form is submitted, your insurer will likely send a surveyor to assess the extent of the damage to your bike. The surveyor will inspect the bike and verify the details you’ve provided about the incident.
During the inspection, cooperate fully with the surveyor, allowing them to examine the bike thoroughly, including any hidden damage. If the surveyor requests additional documents or evidence, provide them as soon as possible.
The surveyor’s report is essential for the approval of your claim, as it helps the insurer determine the payout and any further steps needed.
Step 6: Claim Approval and Settlement
After the surveyor’s inspection and once the insurer processes your claim, the approval will be granted if everything is in order. At this point, your insurer will decide whether to repair the bike or reimburse the repair costs.
Take the time to review the approval notice and confirm the amount you’ll be receiving. If repairs are necessary, your insurer may direct you to an approved workshop or handle the repairs themselves. If you're entitled to a payout, the insurer will transfer the agreed-upon amount to your account.
Step 7: Understand Deductibles and Exclusions
Most bike insurance policies come with a deductible, which is the portion of the claim you’ll need to pay out of pocket. It’s also essential to be aware of your policy’s exclusions, such as damage caused by negligence or general wear and tear.
Familiarize yourself with your policy’s terms, including the deductible amount and exclusions, so you're not caught off guard during the claims process. Understanding your financial responsibility will help you manage expectations and avoid surprises.
Step 8: Receive the Claim Payment
Once the claim is approved, your insurer will either reimburse you for the repair costs or issue a direct payout. Make sure to review the payment to ensure it covers all the necessary repairs and damages. If the payment is lower than expected, reach out to your insurer for clarification.
Confirming that the payout aligns with your coverage ensures that you're receiving the correct compensation.
Common Mistakes to Avoid When Filing a Bike Insurance Claim
To avoid delays or complications in the claims process, here are a few common mistakes to be mindful of:
Delaying the Claim: Report the incident as soon as it happens to speed up the process.
Incomplete Documentation: Ensure you provide all necessary documents, such as FIR, photographs, and medical records.
Ignoring Policy Terms: Before filing a claim, review your policy’s terms, including the deductible, exclusions, and claim limits.
Latest Post
House Rent Allowance (HRA) Exemption in ITR
11-February-2025
Tractor Insurance: Why It’s Essential for Your Tractor?
17-January-2025
Factors affecting car insurance premium
13-January-2025
Tags